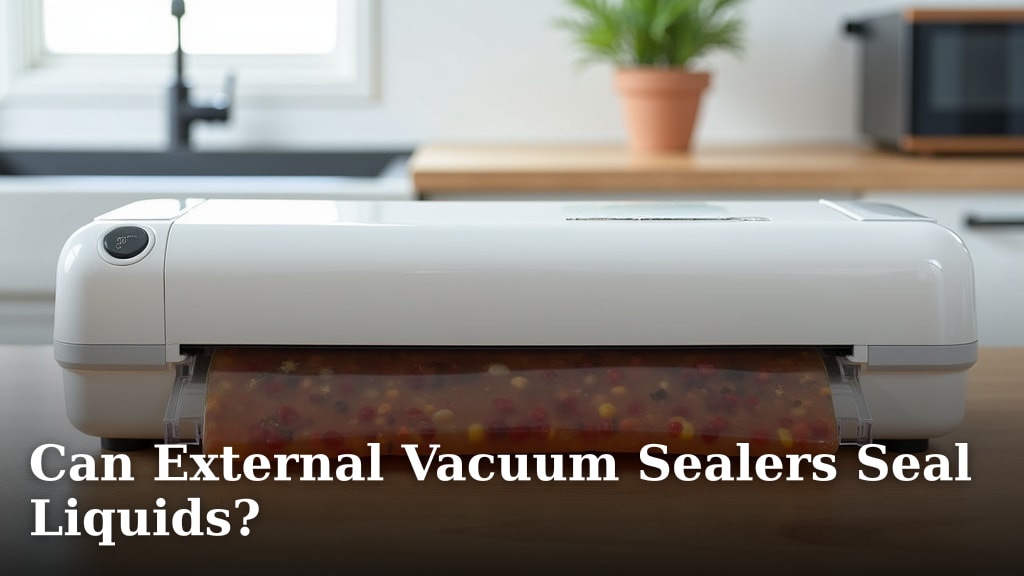
Can External Vacuum Sealers Seal Liquids?
Yes, you can seal liquids with an external vacuum sealer, but it requires a special technique and the right supplies. Simply trying to seal liquids directly will likely result in a mess, as the suction can pull the liquid into the sealing mechanism. Many home cooks want to know how to safely vacuum seal soups, marinades, or broths.
The key is to prevent the liquid from reaching the seal. You’ll typically need to use a special type of bag or add a barrier. We’ve researched the best methods to ensure you get a secure seal without damaging your sealer or creating a kitchen disaster. It’s a bit of a trick, but totally doable!
- External vacuum sealers can seal liquids with the right approach.
- The main challenge is preventing liquid from entering the sealer.
- Using specialized bags or a barrier method is essential.
- This technique works for soups, marinades, and other fluid foods.
Below, we’ll walk you through the simple steps and essential items you’ll need to successfully vacuum seal liquids using your external vacuum sealer.
Sealing Liquids with Your External Vacuum Sealer: A How-To Guide
Yes, your external vacuum sealer can absolutely handle liquids! You just need to approach it a little differently than dry goods. The main thing to remember is to keep the liquid away from the machine’s sealing strip. A direct attempt will likely pull the liquid into the delicate sealing area, causing a mess and potentially damaging your appliance. But don’t worry, we’ve got some straightforward methods that work like a charm.
Understanding the Challenge: Why Liquids Are Tricky
External vacuum sealers work by sucking air out of a bag before creating a heat seal. When you try to seal something like soup or broth, the powerful suction can easily pull the liquid right along with the air. This can lead to a weak seal, a leaking bag, or worse, liquid getting into the vacuum channel and the heating element. It’s like trying to sip a milkshake through a straw that’s already full – it just doesn’t work smoothly!
The Suction Problem Explained
Think of the vacuum channel. It’s designed to pull air out. If there’s liquid there, it gets pulled too. This can gum up the works and prevent a proper seal. Many bag designs also have a textured side, which helps with suction, but this same texture can wick liquids up towards the seal line if you’re not careful.
Potential Risks of Sealing Liquids Directly
- Messy countertops: Spilled soup is never fun.
- Damaged sealer: Liquid can corrode or clog internal parts.
- Weak or failed seals: Your food might not be protected.
- Food spoilage: Leaky bags mean your food is exposed.
Your Go-To Methods for Sealing Liquids Successfully
The good news is that with a few smart tricks, you can confidently seal liquids. We found that the most effective approaches involve creating a barrier or using specialized bags. Let’s break down the best ways to get a secure seal every time.
Method 1: The Freeze-and-Seal Technique
This is a classic for a reason. Freezing your liquids partially solid makes them much easier to handle. It’s a foolproof way to prevent spills and ensure a clean seal.
Steps for Freezing Liquids
- Portion your liquid: Pour your soup, broth, or marinade into portions inside your vacuum sealable bags. Don’t fill them to the brim; leave some headspace.
- Lay flat and freeze: Place the bags flat on a baking sheet or tray in your freezer. This is important to ensure they freeze in a shape that will fit nicely in your sealer.
- Wait until solid(ish): You don’t need them completely rock solid, but they should be firm enough that they won’t slosh around. This usually takes a few hours.
- Seal the bag: Once partially frozen, carefully place the bag into your external vacuum sealer. The solid mass of liquid should stay put while the machine removes the air and creates a seal.
Pros and Cons of Freezing
- Pros: Very effective, minimal mess, keeps food quality well.
- Cons: Requires advance planning, takes up freezer space temporarily.
Method 2: Using a Barrier Bag or Paper Towel Trick
If you need to seal a liquid without freezing, you can create a barrier. This involves placing something absorbent or a thicker material between the liquid and the seal line. We found this method to be quite handy for last-minute needs.
The Paper Towel Method
This is a simple and effective trick. Fold a paper towel neatly. You want it to be wide enough to cover the area where the seal will be made. Place this folded paper towel inside the bag, against the side where you want the seal. Then, carefully add your liquid to the other side of the bag. When you vacuum seal, the paper towel absorbs any stray drips and protects the seal area. You might need to experiment with how many paper towels to get the right thickness.
Using Specialized Liquid-Bags
Some manufacturers offer bags specifically designed for liquids. These often have a reinforced seal area or a different texture pattern that helps prevent wicking. If you plan to seal liquids frequently, investing in these can be worthwhile. They are designed to handle the pressure and moisture better than standard bags.
The Sandwich Method (for Marinades)
For things like marinades, you can sometimes use a variation of the barrier method. Place your meat or item in the bag first, then add the marinade. Then, carefully place a folded paper towel or a piece of clean cloth just above where you want the liquid to stop, pressing it gently against the bag’s side. Finally, seal the bag above the barrier. This works best when the liquid level isn’t too high.
Method 3: The “Dip and Seal” Maneuver
This is a more advanced technique that requires a steady hand and a quick machine. You’ll need to position the liquid so it’s well below the seal line. Then, you quickly start the vacuum process. As the air is drawn out, the liquid will move towards the vacuum channel. Just before it gets too close, you manually stop the vacuum and initiate the seal. It’s a bit of a race against time! We found this works best with thicker liquids like yogurt or very thick sauces, and a faster sealing machine helps a lot.
Tips for a Successful Dip and Seal
- Don’t overfill the bag. Less liquid means less risk.
- Have your finger ready on the seal button. Speed is key.
- Practice makes perfect. Your first few attempts might be messy.
- Consider the bag size. A narrower bag can make controlling the liquid easier.
Choosing the Right Bags for Your Needs
The type of bag you use makes a big difference when sealing liquids. We’ve found that standard zip-top bags aren’t always suitable for vacuum sealing, especially with liquids. You’ll want to ensure you’re using bags designed for external vacuum sealers.
| Bag Type | Pros | Cons | Best For |
|---|---|---|---|
| Standard Vacuum Sealer Bags | Widely available, effective for dry goods | Can be tricky with liquids, might require extra precautions | Dry foods, or liquids using the freeze/barrier method |
| Liquid-Specific Bags | Designed to prevent wicking, often reinforced | Can be more expensive, less common | Soups, broths, marinades, sauces without freezing |
| Heavy-Duty Freezer Bags | Thicker material, more robust | May not be compatible with all external sealers | Thick liquids when freezing isn’t an option, careful barrier use |
Essential Items for Sealing Liquids
To make your liquid sealing a success, gather these items. Having them on hand will make the process much smoother. You don’t need a lot of fancy equipment, just a few thoughtful additions.
- High-quality vacuum sealer bags: Make sure they are designed for your specific sealer model.
- Paper towels or clean kitchen cloths: For the barrier method.
- Freezer space: If you opt for the freezing method.
- Baking sheet or tray: To keep bags flat while freezing.
- A steady hand and patience: Especially for the “dip and seal” technique.
A Quick Checklist for Success
Before you dive in, run through this quick checklist to ensure you’re prepared for sealing liquids with your external vacuum sealer. It’s all about being ready!
- Chosen your method: Freeze, barrier, or dip-and-seal?
- Gathered supplies: Bags, paper towels, tray, etc.
- Checked your sealer: Ensure it’s clean and functioning.
- Portioned liquids appropriately: Avoid overfilling bags.
- Readied your workspace: Clear counter space and be ready for potential minor drips.
- Patience is key: Give yourself a moment to get it right.
Conclusion
You absolutely can use your external vacuum sealer for liquids with the right approach. We found that methods like partial freezing or using a simple paper towel barrier are highly effective. These techniques prevent messy spills and protect your sealer’s sensitive parts. Specialized bags can also make the process easier if you seal liquids often. With a little preparation and the methods we’ve shared, you’ll be successfully sealing soups, marinades, and more in no time. Next, gather your supplies and try the freeze-and-seal method for your first liquid-sealing project!
Frequently Asked Questions
Can I vacuum seal hot liquids?
No, you should never attempt to vacuum seal hot liquids. Hot liquids can pose a burn risk and can also damage your vacuum sealer. Always let liquids cool down completely before sealing them, and preferably use a freezing or barrier method when they are cold.
Will my regular vacuum sealer bags work for liquids?
Standard vacuum sealer bags can work for liquids, but you’ll need to use a special technique like freezing or a barrier method. The textured side of most bags can wick liquid towards the seal. For frequent liquid sealing without extra steps, consider specialty liquid bags.
How much liquid should I put in a bag?
You should never fill a bag all the way to the top. Leave plenty of headspace, at least 2-3 inches, to prevent the liquid from reaching the sealing area. This is especially important when using the dip-and-seal method.
What’s the best way to store vacuum-sealed liquids?
Vacuum-sealed liquids are best stored in the refrigerator or freezer, depending on the food type and how long you need to store it. Ensure the seal is secure before storing to prevent spoilage and maintain freshness.
Can I reuse vacuum seal bags for liquids?
It’s generally not recommended to reuse vacuum seal bags, especially if they have contained liquids or raw foods. Reusing bags can lead to a less secure seal and potential cross-contamination. Always opt for new, clean bags for best results and food safety.