How Exactly Does a Vacuum Chamber Work Step by Step?
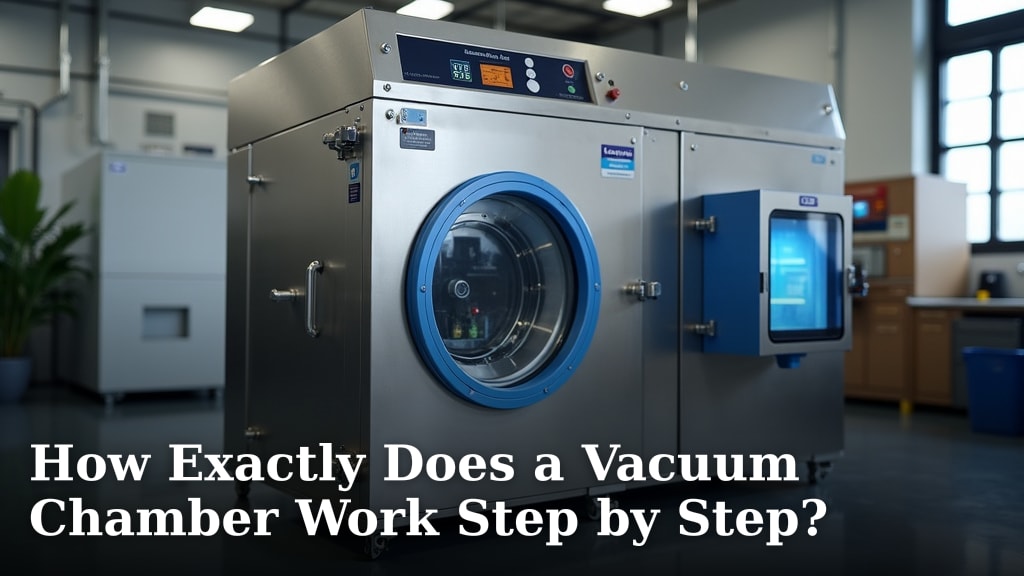
A vacuum chamber works by A vacuum chamber works similarly to how a vacuum sealer work, by removing air from a sealed space.removing air from a sealed container, creating a low-pressure environment. This is done using a vacuum pump to suck out the air molecules. The chamber is designed to withstand the outside air pressure pushing on it.
Understanding how a vacuum chamber works is key to many scientific and industrial processes. From space simulation to food packaging, these devices create a controlled environment. They are essential for experiments that require the absence of air, such as those involving sensitive electronics or materials that react with oxygen.
TL;DR:
- A vacuum chamber removes air to create a low-pressure zone.
- A vacuum pump is the main tool for air removal.
- The chamber walls must be strong enough for the pressure difference.
- This process is vital for many scientific and industrial applications.
Let’s walk through exactly how a vacuum chamber works, step by step, so you can get a clear picture.
How a Vacuum Chamber Achieves Low Pressure, Step by Step
You might be wondering how these seemingly simple boxes can create such extreme conditions. It’s all about removing air. Let’s break down the process.
The Core Components of a Vacuum Chamber
Every vacuum chamber setup has a few key parts. You’ll always find a chamber itself, a way to seal it tightly, and of course, the device that removes the air.
The Chamber Vessel: A Strong Container
Think of the chamber vessel as the main box. This is where the low-pressure environment will be created. It needs to be really strong. Why? Because when you remove the air inside, the air outside pushes in. This is called atmospheric pressure. It’s a powerful force! Without a strong vessel, it could collapse.
Materials like stainless steel or thick glass are common. The shape also matters. Spheres or cylinders tend to distribute pressure evenly. Many chambers have viewports, like windows, so you can see what’s happening inside without breaking the seal. These viewports are made of very tough materials, often thick glass or acrylic.
Seals and Gaskets: Keeping the Air Out
A chamber is useless if air can leak in. That’s where seals and gaskets come in. These are flexible materials placed between different parts of the chamber, like where the lid meets the base. They squish to fill any tiny gaps.
Common gasket materials include rubber, silicone, or Viton. Viton is often chosen for its resistance to heat and chemicals. The seals must be clean and in good condition. Even a tiny leak can prevent you from reaching a high vacuum.
The Vacuum Pump: The Air Remover
This is the heart of the operation. The vacuum pump’s job is to suck the air molecules out of the chamber. There are many types of pumps, each suited for different levels of vacuum. Some are basic, while others are incredibly sophisticated.
We’ll look at the common types of pumps used in a moment. But remember, the pump doesn’t create the vacuum itself; it creates the *conditions* for a vacuum by removing air. You can’t just open a tap and have a vacuum! It’s an active process.
The Step-by-Step Process of Creating a Vacuum
Now, let’s walk through what happens when you want to use a vacuum chamber. It’s a sequence of actions that gradually lowers the pressure inside.
Step 1: Loading and Sealing the Chamber
First, you place whatever you need inside the chamber. This could be a sensitive electronic component, a material for testing, or even food items for packaging. Once everything is in place, you close the chamber and ensure it’s securely sealed.
This usually involves bolting down a lid or closing a door. You need to make sure all connections are tight. If there are any valves or ports, they should be closed at this stage. This preparation is vital for a successful vacuum.
Step 2: Initiating the Pumping Process
With the chamber sealed, you turn on the vacuum pump. The pump starts to draw air out of the chamber through a connected hose or pipe. At first, you’ll notice a lot of air being removed. The pressure inside begins to drop.
Roughing Pumps: The First Stage
Often, a “roughing pump” is used first. This is a type of pump that can remove air quickly but doesn’t achieve a very low pressure. Think of it as getting the bulk of the air out. It brings the pressure down to what’s called “rough vacuum.”
These pumps are good at handling large volumes of air. They might make a noticeable noise as they work. Their main goal is to get the pressure low enough for a more specialized pump to take over. Many guidelines suggest using a roughing pump for initial evacuation (National Institute of Standards and Technology).
High-Vacuum Pumps: Reaching Deeper Levels
Once the roughing pump has done its job, a second type of pump, a “high-vacuum pump,” often takes over. These pumps are designed to remove the remaining, much scarcer air molecules. They are much slower but can achieve extremely low pressures.
Examples include turbomolecular pumps or diffusion pumps. These pumps work differently. Turbopumps spin very fast to push molecules away. Diffusion pumps use a jet of oil to move molecules. The choice depends on the required vacuum level and the application.
Step 3: Monitoring the Pressure
As the pump runs, you need to monitor the pressure. Vacuum chambers have gauges that show the pressure inside. These gauges measure how much air is left. A lower reading means a better vacuum.
It’s like checking a tire pressure gauge. You want to see the numbers go down. Different applications need different levels of vacuum. For example, packaging might need a moderate vacuum, while scientific research could require an ultra-high vacuum.
Step 4: Reaching Target Vacuum and Holding It
The pumping continues until the desired vacuum level is reached. This can take minutes, hours, or even days, depending on the chamber size, pump speed, and target pressure. Once achieved, you might want to maintain this vacuum.
Some systems automatically shut off the pump or switch to a mode that just keeps the pressure stable. If you open any valve or disturb the seal, the pressure will start to rise again as air leaks back in. You’ll then need to pump it down again.
Step 5: Venting the Chamber
When you’re finished, you need to let air back into the chamber. This is called “venting.” It’s usually done slowly and carefully. You open a special valve, and air gradually enters the chamber.
Venting too quickly can cause a sudden rush of air. This can sometimes damage delicate items inside or create unwanted turbulence. It’s like letting air out of a balloon slowly versus popping it. Most experts advise a controlled vent (Vacuum Technology & Coating).
Here’s a quick recap of the typical steps:
- Load items into the chamber.
- Seal the chamber tightly.
- Use a roughing pump to remove most of the air.
- Use a high-vacuum pump for finer pressure reduction.
- Monitor pressure with gauges.
- Hold the vacuum level if needed.
- Vent the chamber slowly to return to atmospheric pressure.
Understanding Vacuum Levels and Their Importance
Not all vacuums are created equal! The term “vacuum” covers a wide range of low-pressure environments. Knowing the different levels helps you understand why a vacuum chamber is used.
| Vacuum Level | Approximate Pressure Range | Typical Applications |
| Atmospheric Pressure | ~760 Torr (1013 mbar) | Normal everyday conditions |
| Rough Vacuum | 1 Torr to 10-3 Torr | Vacuum packaging, drying, some filtration |
| Medium Vacuum | 10-3 Torr to 10-6 Torr | Food processing, lamp filling, mechanical pumping stages |
| High Vacuum | 10-6 Torr to 10-9 Torr | Thin film deposition, surface analysis, electron microscopy |
| Ultra-High Vacuum (UHV) | Below 10-9 Torr | Semiconductor manufacturing, particle accelerators, advanced research |
As you can see, the difference between a rough vacuum and an ultra-high vacuum is immense. It’s like comparing a slightly breezy day to the vacuum of outer space. Each level requires specific pumps and meticulous sealing.
Why Create a Vacuum? Common Uses Explained
So, why go through all this effort to remove air? It’s because the absence of air prevents many common problems and enables unique processes.
Preventing Oxidation and Contamination
Oxygen in the air can cause materials to rust, degrade, or react in unwanted ways. This is called oxidation. A vacuum chamber removes oxygen, stopping these reactions. This is why it’s used for things like preserving food or protecting sensitive electronic components during manufacturing.
Facilitating Material Processing
Many manufacturing processes require precise control over materials. For example, when depositing thin films onto surfaces (like in making computer chips or coatings for lenses), doing it in a vacuum prevents stray air molecules from interfering. It ensures a purer, more uniform layer.
Simulating Space Environments
Outer space is a near-perfect vacuum. To test spacecraft, satellites, or even astronaut equipment, engineers need to simulate these conditions. A vacuum chamber can replicate the low pressure, extreme temperatures, and lack of atmosphere found in space.
Enabling Scientific Experiments
Many scientific experiments rely on isolating a system from its environment. Without air, you can study the pure behavior of particles, observe chemical reactions that are inhibited by oxygen, or conduct experiments where air molecules would otherwise interfere with measurements. Research into particle physics often uses vacuum chambers (CERN).
Conclusion
You’ve seen how a vacuum chamber works by carefully removing air to create a low-pressure environment. This process relies on strong chambers, effective seals, and the right vacuum pumps. From roughing pumps to high-vacuum systems, each step is designed to precisely control the atmosphere inside. Understanding these steps helps you appreciate their role in everything from food packaging to space simulation. If you’re considering a vacuum chamber for your needs, remember to prioritize a good seal and match the pump to your desired vacuum level for the best results.
Frequently Asked Questions
What happens if a vacuum chamber has a leak?
If your vacuum chamber has a leak, air will slowly seep back in. This raises the internal pressure, preventing you from reaching or maintaining the desired low-pressure environment. You’ll need to find and fix the leak, often by checking seals and gaskets, before you can successfully create a vacuum.
Can I use any pump to create a vacuum?
No, you can’t use just any pump. Standard air pumps are designed to increase pressure, not decrease it. You need a specialized vacuum pump designed to remove air molecules. The type of vacuum pump you need also depends on how low a pressure you want to achieve, with roughing pumps for initial evacuation and high-vacuum pumps for deeper levels.
How long does it take to create a vacuum?
The time it takes to create a vacuum varies greatly. Factors include the size of the chamber, the speed of the pumps used, and how low the target pressure is. Smaller chambers with powerful pumps can reach a good vacuum in minutes. Larger systems or those aiming for ultra-high vacuum can take many hours or even days.
Why is it important to vent a vacuum chamber slowly?
Venting slowly is important to avoid damaging the contents or the chamber itself. A sudden influx of air can create turbulence or a shock wave that might harm delicate items. A controlled vent allows pressure to equalize gradually, preventing stress on the chamber walls and ensuring a gentler return to normal conditions.
Do I need to clean seals and gaskets regularly?
Yes, cleaning seals and gaskets is very important for maintaining a good vacuum. Any dirt, debris, or damage on these surfaces can create tiny pathways for air to leak into the chamber. Keeping them clean and in good condition ensures they can create a tight seal every time you close the chamber.