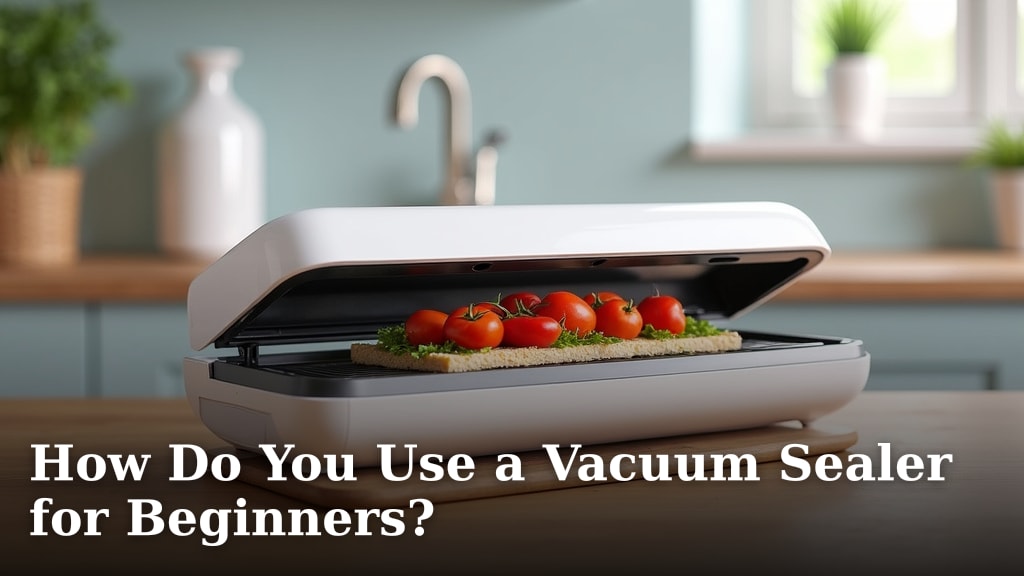
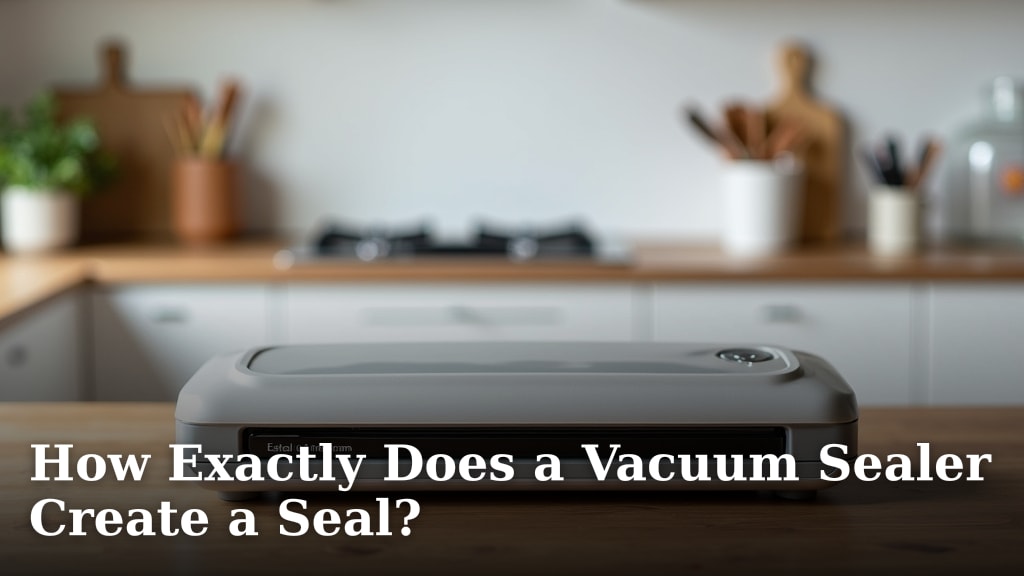
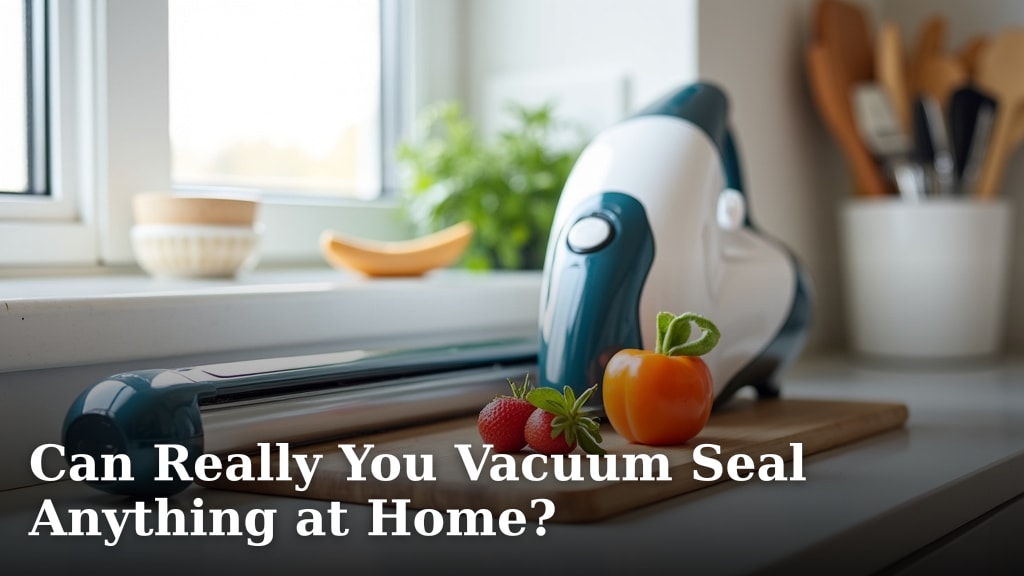
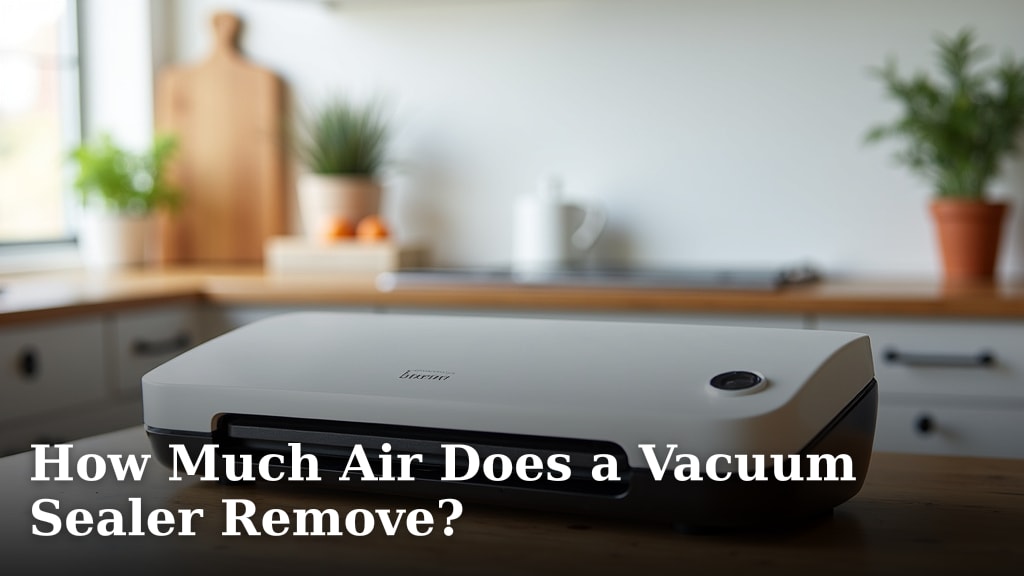
How Exactly Does a Vacuum Sealer Remove Air?
On this page (6 sections)
A vacuum sealer removes air by creating a powerful suction that pulls all the air out of a special bag before it’s sealed. A guide to oxygen removal in vacuum sealing offers more detail. This process, often called vacuum sealing, helps keep your food fresh for much longer. It’s a pretty clever way to extend shelf life.
When you use a vacuum sealer, it works by creating a strong vacuum. A guide to how much air sealers remove offers more detail. This suction not only removes the air but also crushes the bag tightly around your food. This airtight seal is key to preventing spoilage and freezer burn.
- Vacuum sealers use suction to remove air.
- This creates an airtight seal around your food.
- It helps food last longer in the fridge or freezer.
- This prevents freezer burn and spoilage.
Let’s walk through exactly how your vacuum sealer gets all that air out, step by step.
You’ve got your new vacuum sealer, and you’re ready to make your food last longer. But how does it actually get all that air out? It’s not magic, just smart engineering. Let’s break down the process your vacuum sealer uses to create that magical airtight seal. Learn how your vacuum sealer works with our guide for home cooks.
Understanding How Vacuum Sealers Work
Your vacuum sealer uses a simple but effective combination of suction and sealing. It’s designed to pull the air from a special bag. Then, it creates a strong heat seal to keep that air out. This two-step process is what makes food last so much longer.
The Core Components at Play
Every vacuum sealer, whether it’s a fancy chamber model or a more common external type, has a few key parts that work together. You’ll find a suction mechanism, a sealing element, and a way to lock the machine down.
The Suction Mechanism: Creating the Vacuum
This is where the air gets pulled out. Most home vacuum sealers use a motor and a pump. The pump creates a lower pressure inside the bag than the surrounding air. Think of it like a tiny, controlled tornado. This pressure difference forces the air out of the bag.
Research shows that removing air significantly slows down the growth of bacteria and mold. These microbes need oxygen to survive and multiply. By taking away their air supply, you’re making it much harder for them to spoil your food.
The Sealing Element: Locking in Freshness
Once the air is out, the machine needs to seal the bag. Most vacuum sealers use a heating element. This is usually a thin wire. When you press the seal button, this wire gets hot. It melts the plastic of the bag together. This creates a strong, airtight barrier. It’s this barrier that keeps oxygen from getting back in.
The Locking Mechanism: Ensuring a Tight Fit
To make sure the suction and sealing happen correctly, the vacuum sealer needs to hold the bag in place. You’ll typically latch down the lid. This presses the bag firmly against the sealing strip. It also ensures a good seal around the vacuum channel. Without this lock, the bag might shift. The seal might not be complete, or air could get sucked back in.
The Step-by-Step Process: From Food to Freshness
Let’s walk through what happens when you put your food in a bag and press that button. It’s a sequence of events designed for maximum air removal and a secure seal.
Step 1: Placing the Food and Bag
First, you place your food into a special vacuum sealer bag. These bags are made of a material that can be heat-sealed. They are also strong enough to withstand the suction without tearing. You need to leave some extra space at the top of the bag. This is where the air will be pulled from and where the seal will be made.
Step 2: Positioning the Bag in the Sealer
Next, you place the open end of the bag onto the machine’s sealing strip. You might need to tuck it under a small lip or guide. This ensures the bag is properly aligned. A good alignment is critical for both suction and sealing. If the bag isn’t positioned right, air might not come out. The seal might also fail.
Step 3: Engaging the Vacuum Seal Cycle
Once the bag is in place, you close and latch the lid. Then, you press the button to start the cycle. This is when the magic really begins. The machine starts to draw a vacuum.
The Suction Phase: Drawing Out the Air
The pump kicks in. It creates a low-pressure area. This pulls air from the bag. You’ll see the bag start to collapse around your food. The outside air pressure pushes the bag inward. This forces the air out through the open end. This happens very quickly. Many machines can remove up to 99% of the air. This efficient air removal is key.
The Sealing Phase: Creating the Airtight Barrier
After a set amount of time, the vacuum pump stops. The machine then activates the heating element. This wire heats up rapidly. It melts the plastic edges of the bag together. This creates a permanent, airtight seal. Some machines have a pause before sealing. This gives the heating element time to get hot.
The Cooling Phase: Solidifying the Seal
Finally, the heating element cools down. This hardens the melted plastic. This makes the seal strong and durable. The machine might beep to let you know it’s done. You can then unlatch the lid. You’ll have a perfectly sealed bag.
Types of Vacuum Sealers and Their Air Removal Methods
Not all vacuum sealers work exactly the same way. The main difference is how they achieve the vacuum. Most home users have either an external or a chamber vacuum sealer.
External Vacuum Sealers (Suction Sealers)
These are the most common type for home kitchens. You place your food in a special bag. The open end of the bag is placed outside the machine. You then run a hose or a channel to suck the air out. Once the air is gone, the machine seals the bag. They are generally more affordable and easier to store. They work well for dry goods and foods that aren’t too moist or crumbly.
Chamber Vacuum Sealers
These are more common in professional kitchens. With a chamber sealer, you place the bag and food inside the machine’s chamber. The lid closes. The entire chamber is evacuated of air. This means the air pressure inside the bag becomes equal to the air pressure in the chamber. Because there’s no pressure difference, the food doesn’t get crushed. The machine then seals the bag. Finally, the chamber is re-pressurized. These are great for liquids, delicate items, and larger quantities. They offer a superior seal.
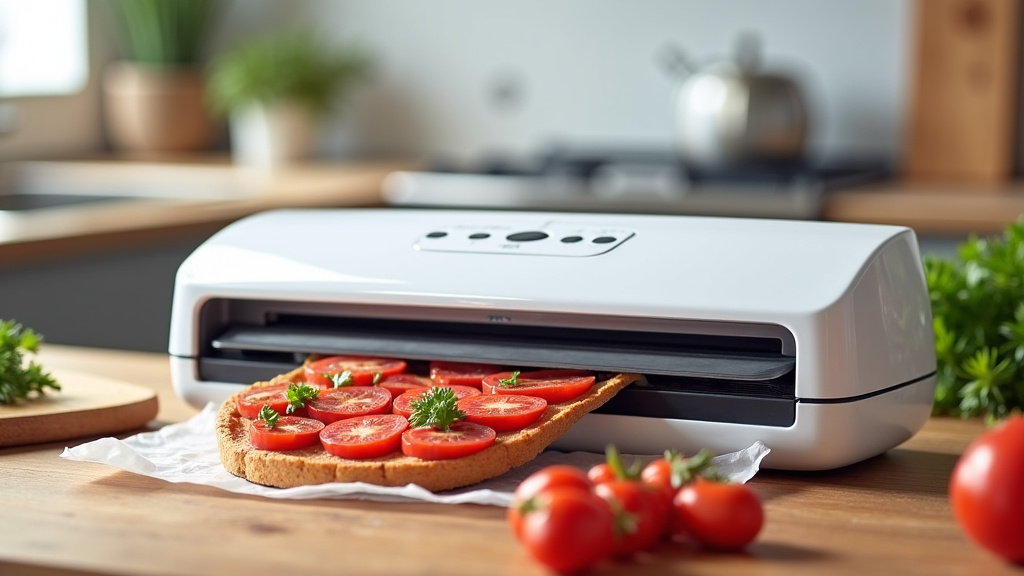
Why Removing Air is So Important
You might be wondering why all this effort to remove air is necessary. It really comes down to preservation. Air is the enemy of fresh food in storage.
Preventing Freezer Burn
Freezer burn happens when food is exposed to cold, dry air in the freezer. This causes ice crystals to form on the surface. It dries out the food. It also changes the texture and flavor. A vacuum seal removes the air. This prevents contact with cold air. Your food stays moist and tastes better. Many guidelines from food safety experts recommend vacuum sealing for freezing (USDA).
Slowing Down Spoilage
As we mentioned, many bacteria, yeasts, and molds need oxygen to grow. When you vacuum seal food, you create an anaerobic environment. This means no oxygen. This dramatically slows down the spoilage process. Food can last much longer in the refrigerator or pantry. Some research indicates vacuum-sealed produce can last up to five times longer (National Center for Home Food Preservation).
Maintaining Food Quality and Flavor
Oxygen can also degrade the quality of food over time. It can cause fats to go rancid. It can change the color and texture of fruits and vegetables. It can also lead to loss of vitamins. By removing air, you preserve the natural quality, flavor, and nutritional value of your food.
Here’s a quick checklist to ensure you’re getting the most out of your vacuum sealer:
- Always use special vacuum sealer bags.
- Ensure the open end of the bag is properly positioned.
- Leave enough space for sealing.
- Make sure the lid is securely latched.
- Check that the seal is complete and has no wrinkles.
- Consider the type of food you’re sealing (moist vs. dry).
Conclusion
You’ve learned that your vacuum sealer works by creating a powerful suction, courtesy of a pump and motor, to draw air out of a special bag. This process lowers air pressure, forcing the air from the bag to escape. Once the air is removed, a Our guide explains how air is drawn out by the pump and motor.heating element melts the bag’s edges together, forming an airtight seal. This seal is your key to preventing freezer burn and slowing down spoilage. For your next step, try vacuum sealing a batch of your favorite produce or leftovers. You’ll see firsthand how it helps your food stay fresher for longer in the fridge or freezer.
Frequently Asked Questions
How much air can a vacuum sealer actually remove?
Most home vacuum sealers are designed to remove a very high percentage of air, often up to 99%. This efficient air removal is what makes them so effective at preserving food by creating a near-vacuum environment.
What happens if I don’t use a special vacuum sealer bag?
Regular plastic bags or wraps usually aren’t designed for heat sealing or withstanding strong suction. They can easily tear, or they won’t create a proper airtight seal, defeating the purpose of vacuum sealing your food.
Can vacuum sealing crush delicate foods like berries?
External vacuum sealers can sometimes crush delicate foods due to direct suction. Chamber vacuum sealers, however, equalize pressure, preventing crushing. For delicate items with an external sealer, you can often pulse the vacuum or place a paper towel in the bag to absorb moisture and protect the food.
Does the sealing bar get hot enough to melt the bag safely?
Yes, the heating element is specifically designed to reach the correct temperature to melt the plastic of vacuum sealer bags. This creates a strong, permanent bond that effectively seals in your food and keeps air out.
Why is it important to leave space at the top of the bag?
Leaving space at the top of the bag is crucial for two reasons. First, it allows the vacuum pump to effectively draw out all the air from the bag. Second, it provides a clean, unobstructed area for the heating element to create a strong, reliable seal.