How Do You Use a Vacuum Sealer for Beginners?
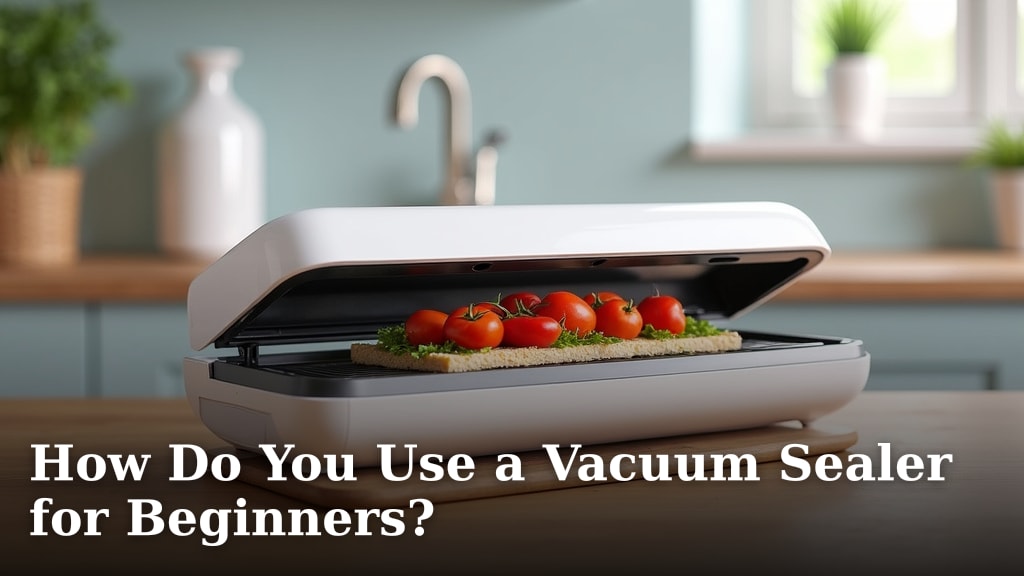
Using a vacuum sealer is quite simple. You typically place your food item in a special bag, seal the bag’s opening, and then the machine removes the air and seals it shut. This process Our guide explains how a vacuum sealer works, detailing the process step-by-step.locks in freshness and prevents freezer burn. It’s a fantastic way to keep your food tasting great for longer.
Vacuum sealing is a popular method for food storage. It works by removing air from the package. This lack of air helps reduce spoilage and oxidation. Many shoppers find it useful for meal prepping and buying in bulk. You can save money and reduce food waste with this technique.
- Place food in a vacuum seal bag.
- Position the bag’s opening on the machine’s sealing strip.
- Start the vacuum and sealing process.
- Store your perfectly sealed food.
Ready to get started? Let’s walk through the exact steps to use your vacuum sealer like a pro.
Getting Started with Your Vacuum Sealer: A Step-by-Step Guide
Using a vacuum sealer might seem a bit intimidating at first. But once you understand the basic steps, you’ll find it’s actually quite straightforward. We’re here to help you navigate the process with ease. Let’s get your food sealed and fresh!
Understanding the Basics of Vacuum Sealing
At its core, vacuum sealing is about removing the air from a package. This lack of air is key to preserving food. It slows down spoilage and prevents that dreaded freezer burn. Think of it like giving your food a protective, airtight hug.
Why Remove Air? The Science Simplified
Air contains oxygen. Oxygen is what causes food to degrade over time. It can lead to mold growth, oxidation, and changes in flavor and texture. By removing the air, you significantly slow down these processes. This means your food stays fresher for much longer. Many food safety guidelines highlight the importance of minimizing air exposure for preservation (FDA).
Different Types of Vacuum Sealers
There are two main types you’ll likely encounter. The first is an external or handheld vacuum sealer. These work with special textured bags. You usually place the bag’s open end outside the machine and it sucks the air out. The second is a chamber vacuum sealer. These are more common in professional kitchens. The entire bag goes inside a chamber, and the machine equalizes the pressure to remove air.
For beginners, external sealers are generally more common and budget-friendly. We’ll focus on how to use those. For beginners, external sealers are generally more common and budget-friendly, as explained in this guide.
Preparing Your Food and Bags for Sealing
Before you even turn the machine on, a little preparation goes a long way. Getting your food and bags ready is the first major step.
Choosing the Right Bags or Rolls
You’ll need special bags designed for vacuum sealing. These are usually made of multiple layers to be airtight and prevent moisture or air from getting through. You can buy pre-made bags or rolls. Rolls are great because you can cut them to the exact size you need. This reduces waste and ensures a perfect fit for your food.
If you use rolls, make sure to create a good seal at the bottom of your custom bag. A weak seal here means air can get in.
Portioning Your Food for Sealing
Think about how you’ll use the food later. It’s often best to portion items into single or meal-sized servings. This way, you only need to unseal what you plan to eat. It prevents you from having to re-seal partially used packages, which can compromise freshness.
Important Considerations for Different Foods
Some foods require a little extra attention before sealing. We found that moist foods can sometimes interfere with the seal. For these, you might want to place a paper towel in the bag between the food and the seal line. This will absorb any excess moisture.
For delicate items like berries or baked goods, you might want to freeze them slightly first. This helps them keep their shape when the air is removed. For liquids, like soups or stews, you can partially freeze them in a container first. Then, you can seal them, or you can use the “moist” setting on your sealer if it has one. Some people also choose to double-bag liquids for extra security.
The Step-by-Step Sealing Process
Now that your food and bags are prepped, let’s get to the actual sealing. It’s a simple sequence of actions.
Step 1: Place Food in the Bag
Put your prepared food item into the vacuum seal bag or your custom-made bag. Be mindful of how much you put in. You need enough space at the top for the machine to create a good seal. Aim for at least 2-3 inches of clear space between the food and the top edge of the bag.
Step 2: Position the Bag on the Sealer
Open the lid of your vacuum sealer. Carefully place the open end of the bag flat on the sealing strip inside the machine. Make sure the edge is straight and doesn’t have any wrinkles. These wrinkles can prevent a proper seal.
For many models, there’s a specific channel or groove where the bag edge should sit. Check your machine’s manual if you’re unsure. You want the entire open edge to be under the sealing element.
Step 3: Secure the Lid and Start the Process
Close the lid of the vacuum sealer. You’ll likely need to latch it or press down firmly. Many machines have a lock mechanism. Once the lid is secure, you’ll press a button to start the vacuum and seal cycle. Some machines have separate buttons for vacuuming and sealing, while others do both automatically.
The machine will then begin to suck the air out of the bag. You’ll see the bag deflate around your food. Once the air is removed, the machine will automatically activate the heat-sealing element. This melts the edges of the bag together, creating that airtight seal. This entire process usually takes less than a minute.
Step 4: Check the Seal and Store
Once the cycle is complete, the machine will often beep or indicate it’s finished. Carefully open the lid and remove your sealed package. Inspect the seal to make sure it looks solid and even. There shouldn’t be any gaps or signs of air leakage. If you’re not confident in the seal, it’s better to re-seal it.
You can now store your vacuum-sealed food. Place it in the refrigerator, freezer, or pantry as appropriate for the food type. When stored properly, vacuum-sealed items can last significantly longer. For instance, many sources suggest refrigerated foods can last 3-5 times longer when vacuum sealed (USDA).
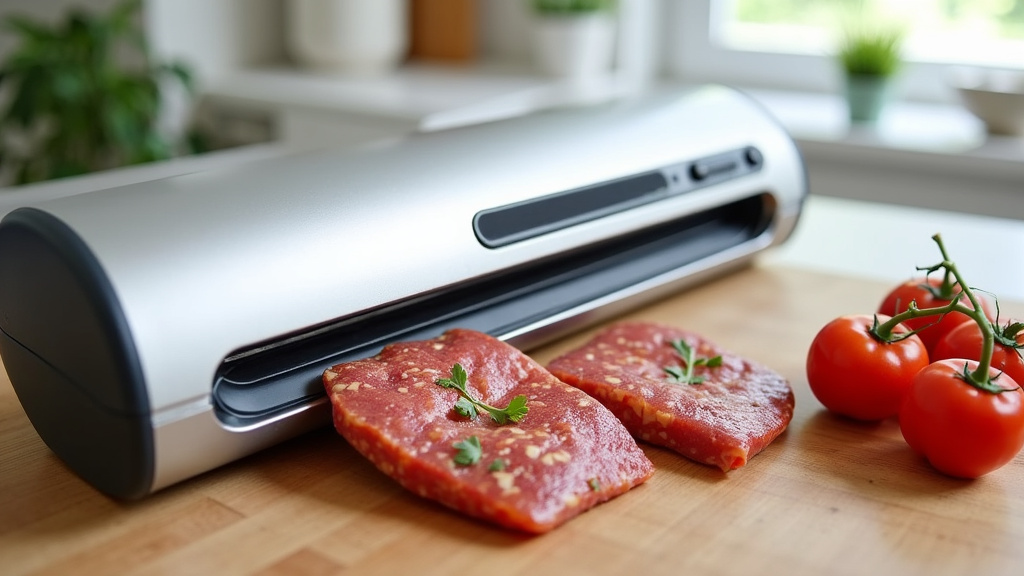
Tips for Optimal Vacuum Sealing Results
Want to get the most out of your vacuum sealer? A few extra tips can make a big difference.
Using the “Moist” or “Dry” Setting Correctly
Most vacuum sealers have settings for different food types. The “dry” setting is for non-moist items like grains, nuts, or dried fruits. The “moist” setting is for foods with some liquid content, like fresh meats or vegetables that release juices. Using the “moist” setting often results in a slightly wider seal. This helps ensure a secure closure even with a little moisture present.
Preventing Bag Creasing for a Better Seal
Wrinkles or creases in the bag where it needs to seal are a common problem. They can create tiny openings for air to sneak back in. Always try to lay the bag flat and smooth it out before closing the lid. If you’re using bags made from rolls, make sure the bottom edge is perfectly sealed and flat.
What NOT to Vacuum Seal
There are a few exceptions to the rule. We found that certain items can be tricky or even unsafe to vacuum seal.
- Soft cheeses: They can become very dense and lose texture.
- Garlic or other soft vegetables when raw: In an anaerobic (airless) environment, bacteria like *Clostridium botulinum* can grow and produce toxins. Always cook these items first if sealing.
- Cruciferous vegetables (like broccoli, cabbage, cauliflower): These vegetables release gases after sealing, which can cause the bag to inflate. Blanching them briefly before sealing can help.
When in doubt, it’s always best to consult food safety guidelines or your appliance manual. Proper food handling is always important.
A Quick Checklist for Your First Seal
Ready to put your knowledge to the test? Here’s a handy checklist:
- Prepare your food: Portion and pre-treat if necessary (like blanching or freezing).
- Select the right bag: Use a quality vacuum seal bag or roll.
- Create your bag (if using rolls): Ensure a solid bottom seal.
- Add food and leave headspace: Leave 2-3 inches of space at the top.
- Position bag correctly: Lay the open edge flat on the sealing strip.
- Seal and inspect: Run the cycle and check the seal for integrity.
Conclusion
You’ve learned how simple vacuum sealing can be. By removing air, you significantly extend the freshness of your food. This means less waste and more savings for your household. Remember to prepare your food and bags carefully. Always check your seal for a secure closure. Now you’re ready to start preserving your favorite foods with confidence!
Frequently Asked Questions
Can I vacuum seal liquids like soup or sauces?
Yes, you can vacuum seal liquids, but with caution. It’s best to partially freeze liquids first to prevent them from spilling. Alternatively, some sealers have a “moist” setting that can help create a stronger seal. Always check your specific machine’s recommendations for sealing liquids.
Do I have to use special bags, or can I use regular plastic bags?
You must use special vacuum sealer bags or rolls. Regular plastic bags are not designed to be airtight or to withstand the sealing process. They lack the necessary layers to prevent air and moisture from getting through, which is essential for preserving food.
How much food can I put in a vacuum seal bag?
Leave about 2-3 inches of clear space at the top of the bag. This headspace is crucial for the machine to create a proper seal. Overfilling the bag can prevent it from sealing correctly, allowing air to leak back in.
What happens if my vacuum seal bag doesn’t seal properly?
If a seal looks weak or you suspect air leakage, it’s best to re-seal the bag. Ensure the sealing strip is clean and free of any food particles or moisture. Also, make sure the bag’s edge is perfectly flat without any wrinkles before you run the cycle again.
Can I vacuum seal items that are still warm?
No, you should let food cool completely before vacuum sealing it. Sealing warm food can create condensation inside the bag. This moisture can interfere with the seal and also promote bacterial growth, compromising food safety.