What Exactly Happens When You Vacuum Seal Food?
On this page (10 sections)
- How Vacuum Sealing Food Actually Works
- The Science Behind the Seal
- The Real Benefits for Your Kitchen
- Is It Safe? Food Safety Considerations
- A Step-by-Step Guide to the Process
- Common Mistakes and How to Avoid Them
- Checklist for Effective Vacuum Sealing
- Final Thoughts on the Vacuum Sealing Process
- Conclusion
- Frequently Asked Questions
How Vacuum Sealing Food Actually Works
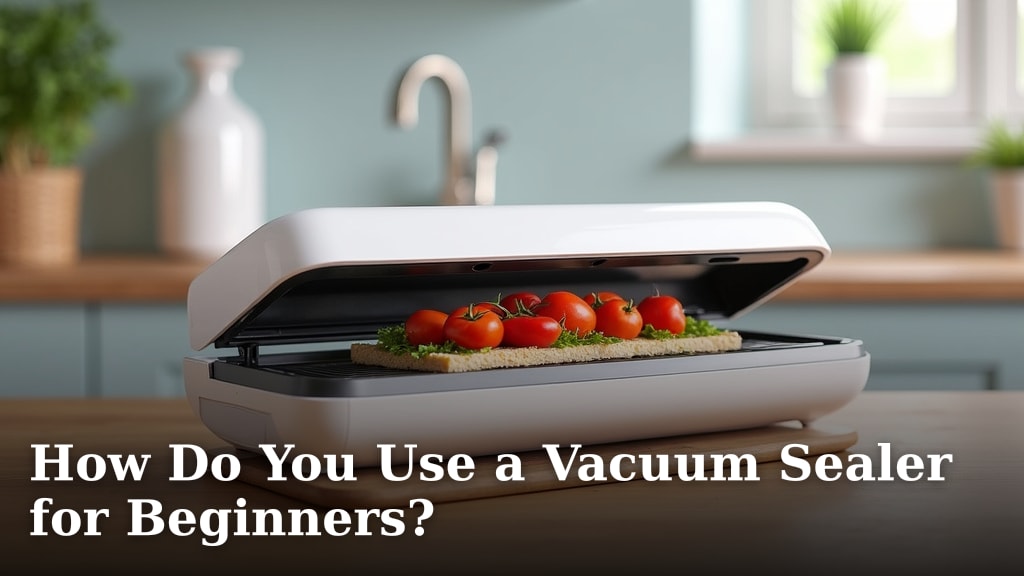
When you vacuum seal food, a machine sucks out the air before sealing the package tight. This simple process protects your groceries in powerful ways. Let’s walk through exactly what happens, step by step.
The Science Behind the Seal
At its core, vacuum sealing is about controlling the environment around your food. The main goal is to remove air, which contains oxygen. Oxygen is the primary reason food spoils. It allows bacteria and mold to grow and causes fats to go rancid.
Removing the Oxygen
The vacuum sealer’s pump creates suction. It pulls nearly all the air out of the bag or container. This creates a low-oxygen environment. Research has shown that reducing oxygen levels can slow down spoilage microorganisms. It doesn’t kill them, but it puts them into a dormant state (USDA Food Safety and Inspection Service).
What About the Bag?
The bag is crucial. It must be strong enough to stay airtight. Most vacuum bags are made from specialized plastic. This material doesn’t let oxygen seep back in. The machine then heat-seals the open end. This creates a permanent, airtight barrier.
Preserving Freshness and Flavor
By locking out air, you stop two big enemies: freezer burn and oxidation. Freezer burn happens when moisture in food evaporates and recrystallizes on the surface. It makes food dry and leathery. Oxidation is a chemical reaction that changes food’s color, taste, and texture. Think of a sliced apple turning brown—that’s oxidation. Vacuum sealing prevents both.
The Real Benefits for Your Kitchen
So, why should you care? This process offers tangible, everyday advantages. It saves you money, reduces waste, and makes meal prep easier.
Extending Shelf Life Dramatically
Properly vacuum-sealed food lasts much longer. Here’s a quick comparison. It’s a game-changer for your budget and schedule.
| Food Type | Regular Storage | Vacuum Sealed (Refrigerator) | Vacuum Sealed (Freezer) |
|---|---|---|---|
| Raw Meat | 1-2 days | 1-2 weeks | 6-12 months |
| Cheese | 1-2 weeks | 4-8 weeks | 6-8 months |
| Vegetables (blanched) | 3-5 days | 1-2 weeks | 8-12 months |
| Baked Goods | 2-3 days | 1-2 weeks | 6-12 months |
These are general guidelines. Always check for signs of spoilage. If something smells off or looks strange, throw it out.
Preventing Freezer Burn and Waste
Freezer burn is a common frustration. It turns your chicken breast into a pale, dry puck. Vacuum sealing creates a protective barrier. It keeps moisture in and freezer odors out. You’ll be amazed at how much better your frozen food tastes.
Think about it. How often have you thrown away a block of cheese covered in freezer crystals? Or a loaf of bread that turned rock hard? Vacuum sealing stops this waste. It protects the quality of your food.
Marinating Faster
Here’s a neat trick. The pressure change from vacuum sealing helps marinades penetrate food quickly. The process opens up the food’s surface. It allows flavors to soak in deeply. Many people find that marinating in a vacuum bag cuts the time in half. This is a great method for tough cuts of meat. It’s a simple way to boost flavor.
Is It Safe? Food Safety Considerations
You might wonder: does vacuum sealing make food unsafe? The answer is yes, if you don’t follow key rules. It can create a perfect environment for certain dangerous bacteria. But with careful handling, it is very safe.
The Danger of Clostridium Botulinum
This is the most serious concern. Clostridium botulinum is a bacteria that can produce a deadly toxin. It thrives in low-oxygen, moist environments—exactly what a vacuum seal creates. This bacteria can grow in food that is stored at room temperature. For this reason, you must refrigerate or freeze vacuum-sealed food promptly. Never leave it on the counter.
The CDC states that botulism is rare but serious. Following proper storage guidelines is essential. The key is keeping food cold (below 40°F or 4°C) or frozen. This stops the bacteria from multiplying.
Best Practices for Safe Handling
To keep your food safe, follow these steps:
- Start with clean food. Remove dirt and visible contaminants.
- Use clean bags and equipment. Wash and dry your sealer parts.
- Cool hot food before sealing. Let it cool in the refrigerator first.
- Refrigerate or freeze immediately. Don’t wait. Do it right after sealing.
- Mark packages with dates. Use a marker to note what it is and when you sealed it.
A Step-by-Step Guide to the Process
Using a vacuum sealer is straightforward. Here’s what happens from start to finish.
Preparing Your Food
First, get your food ready. Cut it into portions you’ll actually use. There’s no point in thawing a giant block of meat when you only need a pound. Pat wet foods dry with a paper towel. Excess liquid can interfere with the seal. For very moist items, you can use the “moist” setting if your machine has one.
Placing Food in the Bag
Put the food into a vacuum-sealer bag. Leave a few inches of space at the open end. This space is needed for the machine to create the seal. Don’t overfill the bag. Air needs a path to escape. It’s like making a pillow—you need room for the air to go.
Running the Machine
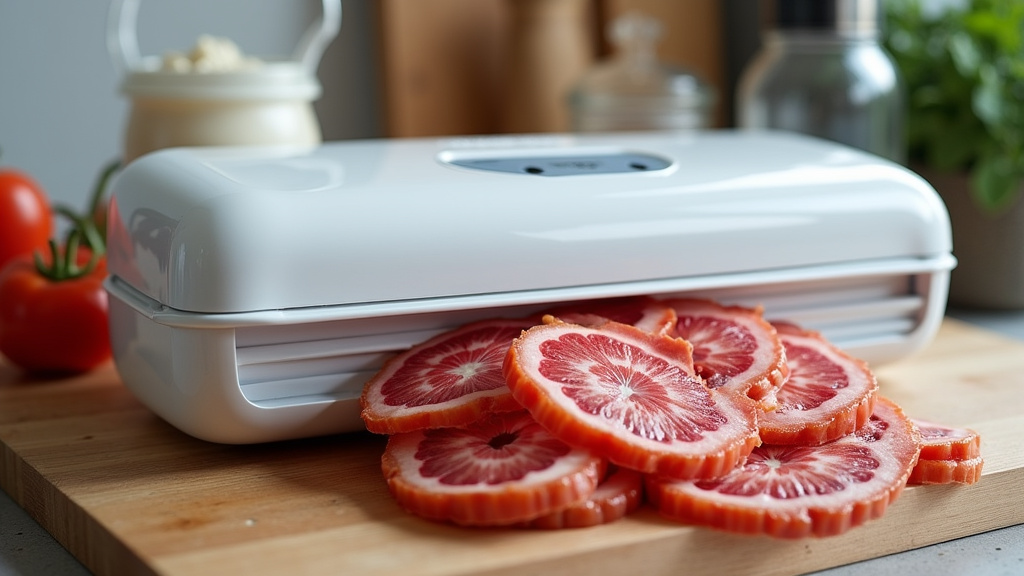
Insert the open end of the bag into the vacuum sealer. Close the lid firmly. Press the button to start the process. You’ll hear the pump working. It will suck the air out. Watch as the bag tightens around the food. Then, the machine will automatically heat-seal the opening. This takes about 15-30 seconds. You’ll know it’s done when the pump stops.
Checking the Seal
Before you put it away, check the seal. Run your finger along the sealed edge. It should feel flat and uniform. There should be no wrinkles or bubbles. A good seal is your guarantee. If it’s not perfect, you can re-seal it. Just cut off the old sealed part and start again.
Common Mistakes and How to Avoid Them
Even simple processes have pitfalls. Here are the most common errors we found people make. Avoiding these will save you time and food.
Sealing Wet or Greasy Food
Grease or moisture can get into the seal area. This prevents a proper bond. It can cause the seal to fail over time. The solution is simple. Pat food dry. Or use a paper towel as a barrier. For liquid-rich foods, freeze them in a container first. Then transfer them to a vacuum bag.
Overfilling the Bag
If you put too much food in, the bag can’t seal properly. The edges might not come together. Or the seal might be weak. A good rule of thumb is to fill the bag no more than halfway. This gives the machine enough room to work.
Ignoring the Seal Check
Never assume the seal is good. Always inspect it. A tiny gap can let air back in. It’s the difference between a steak that lasts months and one that goes bad in a week. Take those extra 10 seconds to check. It’s worth it.
Checklist for Effective Vacuum Sealing
Use this quick list to get great results every time.
- Cool food completely before sealing.
- Leave 3-4 inches of bag space at the top.
- Pat wet items dry to ensure a tight seal.
- Always check the sealed edge after the process.
- Label everything with contents and date.
- Store in the refrigerator or freezer immediately.
Final Thoughts on the Vacuum Sealing Process
So, what happens when you vacuum seal food? You create a protective, low-oxygen environment. This slows down spoilage, prevents freezer burn, and locks in freshness. It’s a science-backed method for saving food and money. By following the proper steps and safety guidelines, you can make it work wonders in your kitchen. It’s a simple tool with a big impact on how you store and enjoy your food.
Conclusion
Vacuum sealing works by pulling air out and locking it out. This keeps your food fresher, stops freezer burn, and saves you money over time. You now know the science, the safety rules, and the step-by-step process. You also know the common mistakes to skip. The best part? It’s easy once you get the hang of it. Start by sealing just one bag of chicken or cheese this week. See how much better it tastes after a month in the freezer. That small test will show you the real value of vacuum sealing in your kitchen.
Frequently Asked Questions
Can you vacuum seal food that is cooked?
Yes, you can vacuum seal cooked food. Let it cool completely in the fridge before sealing. Hot food traps steam, which creates moisture in the bag. That moisture can weaken the seal and create an environment for bacteria. Sealed cooked food lasts about 2 to 3 weeks in the fridge.
What foods should you NOT vacuum seal?
Soft or delicate foods can get crushed by the vacuum pressure. Think raw mushrooms, fresh berries, or soft bread. Raw garlic and onions can also spoil faster in vacuum-sealed bags. Some soft cheeses release too much liquid. If you’re unsure, freeze the food first, then vacuum seal it.
How do you thaw vacuum-sealed food safely?
The safest way is to thaw in the fridge overnight. This keeps the food out of the temperature danger zone. You can also submerge the sealed bag in cold water. Change the water every 30 minutes. Never thaw vacuum-sealed food on the counter at room temperature.
Can you reseal a vacuum bag after opening it?
You can, but you need to cut off the old sealed end. Most vacuum sealers require a clean, straight edge to create a new seal. If the bag is still long enough, you can trim and reseal it. For food that has been opened and eaten from, it’s often safer to use a fresh bag.
Does vacuum sealing change the taste or texture of food?
No, vacuum sealing does not change taste or texture. It preserves what is already there. The main benefit is preventing freezer burn, which causes off-flavors and dryness. Your food tastes like it did when you sealed it. Many people actually notice better flavor because oxidation is kept out.